NX500 / NZ500 Update
Please follow these steps to update your NX500 / NZ500. This update will allow the iPhone 4 to operate correctly while using Bluetooth.
Please use a blank USB Jump Drive that has no content and is formatted in FAT or FAT32.
Step 1:
Please download the NX500 / NZ500 Update from www.clarion.com and save onto your Windows PC Desktop.
Update tool for NX500
(Clarion_NX500_WinCE_V2.88.0_0141_110212.zip:3.85MB)
Update tool for NZ500
(Clarion_NZ500_WinCE_V2.88.0_0132_110212.zip:4.28MB)
Note: It will be downloaded as a RAR (ZIP) File that contains the folder necessary for this update.
Step 2:
After you have downloaded the update file. Un-Zip the file into a separate folder onto your desktop.
Step 3:
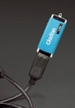
Insert you blank USB Jump Drive into a USB Port on your computer. Notice the Drive that the USB Jump Drive is labeled.
Example: USB Mass Storage Device (F:)
Step 4:
Copy the Un-Zipped Folder that contains the update to the USB Jump Drive.
Step 5:
After the transfer is completed, you may now eject the USB Jump Drive from the USB Port on your computer.
Note: To correctly Eject the USB Jump Drive from your computer, please do the following.
Step A:
Left Click One Time on this Logo located in your System Tray (Bottom Right Corner).
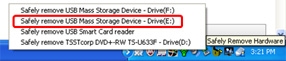
Step B:
Left Click on the Drive Letter that is associated with the USB Jump Drive.
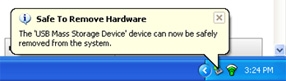
Step C:
When prompted that your USB Mass Storage Device is Safe to Remove, Please remove the USB Jump Drive from your computer.
Step 6:
Connect the USB Jump Drive that contains the update into the USB Pigtail located on the back of the NX500 / NZ500.
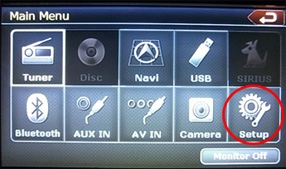
Step 7:
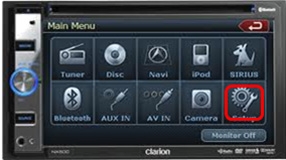
Touch the Setup Icon from the Main Menu Screen.
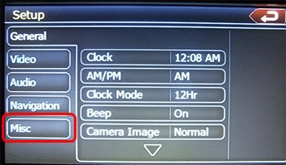
Step 8:
Select the MISC Option that is located on the Left Side of the screen.
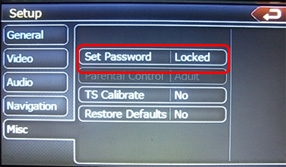
Step 9:
Select the Set Password Option.
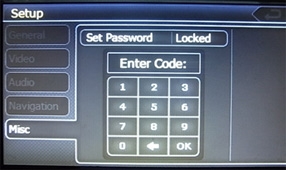
Step 10:
When the Keypad appears, Enter in this code: 200802
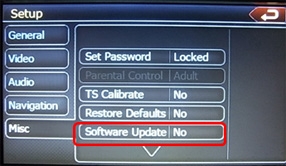
Step 11:
After entering the code, Select the Software Update Option.
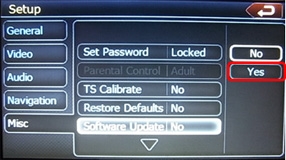
Step 12:
Select the YES Option on the Right Side of the Screen.
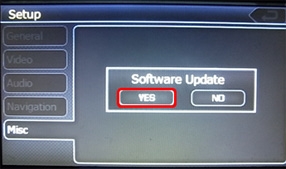
Step 13:
Select YES to Software Update when prompted.
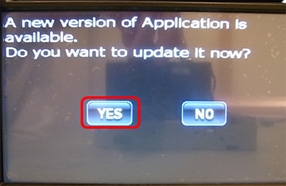
Step 14:
When you are asked to start the update, Select YES.
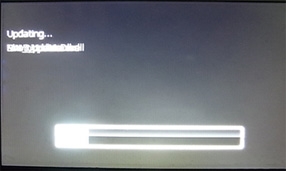
Step 15:
Now that the update has started, it is very important that the power to the NX500 / NZ500 is not shut Off or any buttons on the NX500 / NZ500 or the IR Wireless Remote are touched or pressed during this update process.
WAIT UNTIL THE UPDATE PROCESS IS COMPLETED!!
Step 16:
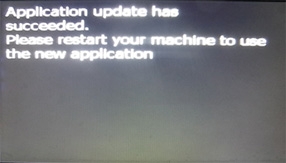
When the update is completed you will be asked to restart the NX500 / NZ500.
Step 17:
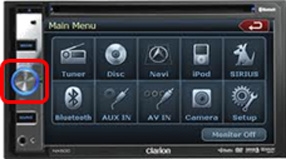
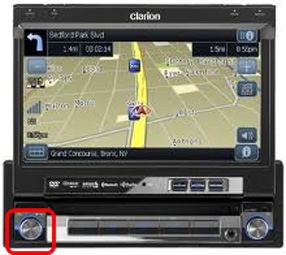
Power Off the NX500 / NZ500 by Pressing and Holding in the Volume/Power Knob until the unit shuts Off.

Step 18:
Power On the NX500 / NZ500 by Pressing and Holding in the Volume/Power Knob until the unit turns On.

Step 19:
With the NX500 / NZ500 Powered On, please verify that the software has been updated correctly.
Step 20:
From the Main Menu, Select Set Up
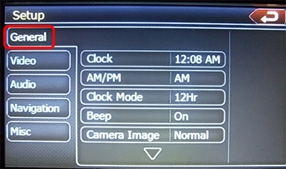
Step 21:
Now Select General

Step 22:
Now Select the Down Arrow to get to the next page of options.
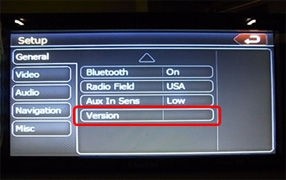
Step 23:
Now Select Version.
Step 24:
Confirm that the updated software has been correctly installed.
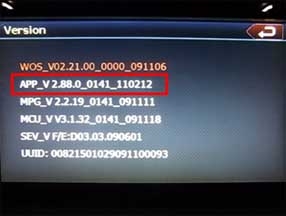
NX500
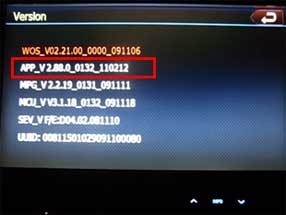
NZ500
Step 25:
If you have the same version number as shown in Step 24, then you may now exit the Set Up Menu and operate the NX500 / NZ500 as you normally would. Your update has been completed successfully.
